Chicken Enchiladas ~How About A Recipe? ~
It seems as though I'm only good for one recipe a year, so scoot in a little closer, cuz this is probably going to be THE one.
My husband says I shouldn't share this with the world, but he's kind of selfish like that. Part of me says not to either, but then there's the generous side of me that says, why should MY family be the only ones to enjoy this specialty. My daughter is a very picky eater and she eats it, not to mention that her friend just spent the night and she said she LOVED it.
BAZINGA!
I've tried several different versions of this recipe and tweaked it along the way. One recipe called for making a roux (thickener) with butter and flour in chicken broth and small cans of diced this or that and a bunch of other stuff. Meh, I'm basically lazy, so I looked for other ways to make it in as few steps as possible, while still providing a delicious meal. Enter Chicken Gravy and Green Chile Enchilada Sauce. Yes!
So here it is:
Chicken Enchiladas
1 - 14 oz. Can Chicken Gravy
1 - 10 oz. Can Green Chile Enchilada Sauce (It comes in Mild and varying degrees of heat, so use what you like)
*Mix & heat these 2 ingredients in a medium saucepan.
*Remove from heat and then add...
8 oz. Sour Cream (you can use low fat sour cream or even try using a low fat yogurt, I have not tried that yet, but I will.)
*Do not add the sour cream to a boiling mixture or you may have issues with the sour cream curdling.
2 C. of Cooked Chicken (Store bought Rotisserie Chicken is good, I used left over turkey here - hint hint)
2+ C. of Shredded Cheese (I used Colby Jack-you can add more if you like, I did)
5-7 Soft Tortilla Wraps - depending on size of wraps. You can use Flour or Corn. I used Flour
*Bake 375 degrees for 30 minutes.
*To brown the cheese, turn up oven to 425 degrees and bake additional 10 minutes, but keep an eye on them, as oven temps vary.
Here is a picture of the ingredients I used. You don't have to use these brands, but they're what I like and what's readily available in my area.
**I'm not compensated in any way to promote the products I used in the making of this recipe.
NOTE: All I had on hand was 10 1/4 oz. cans of chicken gravy, so I had to use 2 (but had a little sauce left over), so if you can find the 14 oz. size, it might be just right.
Also, I also show a 16 oz. container of Sour Cream, but I was planning on using the extra left over for another recipe. So just use 8 oz.
I'm also going to throw in a few tips for easier clean up. I mean, who doesn't like less mess? Am I right?
I am also NOT paid to promote this product, but I swear I should be. I'm probably the one that keeps them making this product. I know it's not environmentally friendly, but it's Beth friendly and that's what I like! Here's how I save on dirty dishes and the best way to line a deeper pan with foil. It's also good if you have a crappy pan that's a little rusty. Line them with this stuff and you don't have to buy a new pan right away.
I will say that I learned this trick many moons ago from a cook that used to be on the Public Television stations back in the 90's. His name was Jeff Smith & loved watching his cooking show! I was into DIY back when it wasn't cool ya know & PBS was pre-HGTV. Gasp!
Flip your pan upside down and tear off a piece of foil a little longer than your pan. Flip this foil over with it's "wrong" side up. Press your upside down foil on your upside down pan, then press and form to the shape of the pan.
There is printing that's on the foil that tells you which is the right side to use for the non-stick to work. If it's upside down, it looks like that.
This is what it looks like right side up on the non-stick side. Pretty good thing they do that too.
Next, you flip the pan over and turn the foil right side up too and place it inside your pan. It will look like this.
All you need to do now is finish pressing it to your pan and over the top edges. You'll notice that the foil doesn't completely cover the long sides of the pan, but they do for the most part. If you're not a messy cook like me, this won't be a problem with clean up. I still end up with some cooked on stuff on the pan, but it's a whole lot less than if I didn't do this at all. When the pan is empty, just throw away the dirty foil. You do have to be careful when removing food from the pan, as the foil does have a tendency to tear, but the food isn't baked on, so it's still easy to wash what little food debris ends up actually on the pan.
Boy, that sure was a lot just about foil, wasn't it?
And now back to our regularly scheduled program...
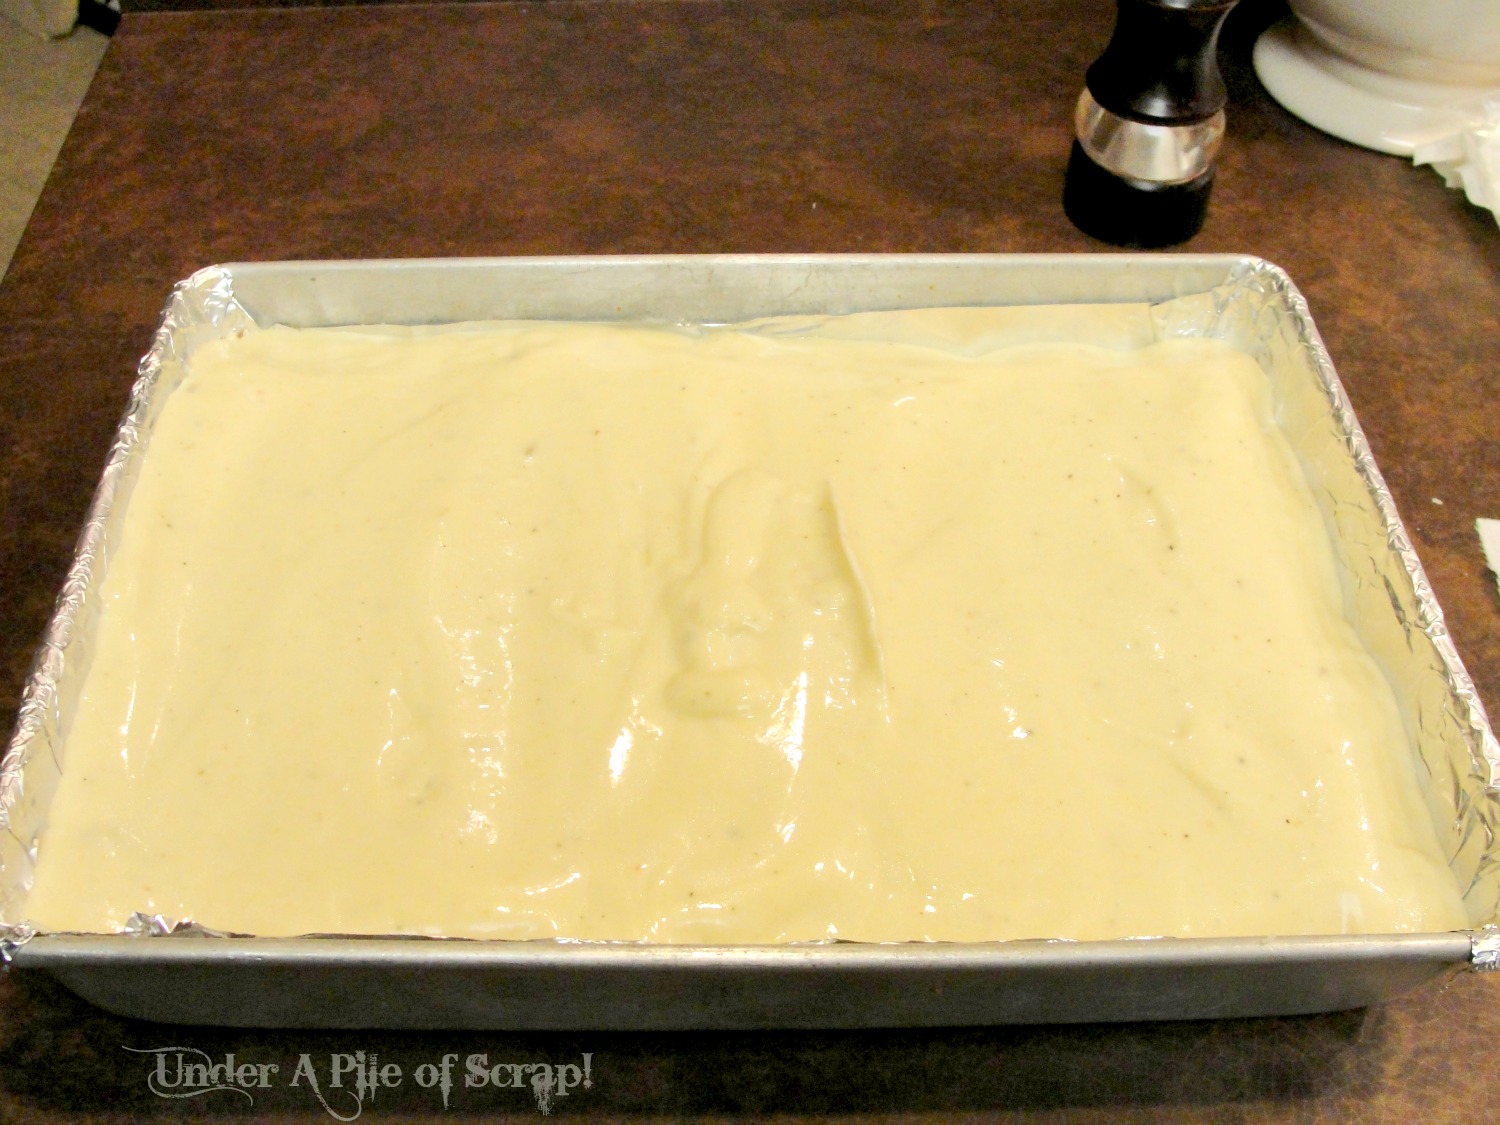
Take the heated gravy, enchilada sauce and sour cream mixture and spread a decent amount in the bottom of your pan.
Next, take a tortilla and place some shredded cheese down the middle.
Then add your chicken on top of the cheese. You can actually add your cheese and chicken in reverse order. There's no right or wrong way to do this part.
Start wrapping one side over the filling... I know this is basic stuff, but someone will not have ever done this before and want to know how to do it.
Somebody get that girl a manicure! -Now you just flip the left side side over the first.
The tricky part is getting a picture of turning this over into the pan AND trying to take a picture, so I opted not to lose a camera or an enchilada in the making of this blog post & did without a photo. But, you need to place the enchilada folded side down into your bed of sauce in the pan.
Since I used HUGE Tortillas, I only get 5 in my 9x13 pan & I have to kind of tuck the ends under. I typically get 6 or 7 when I use the smaller tortillas. How many enchiladas you get depends on how full you make these also, so the number will vary.
Now you need to pour the remaining sauce over the top of the enchiladas until they're covered completely, and a little thick or else they will be a little dry when you're eating them.
Sprinkle the remaining shredded cheese on top. I probably needed more cheese, but I already used 1 and 1/4 package, because we really like it cheesy.
However, being the bad blogger that I am, and because it was late and we were all starving, I forgot to take a picture of them when they were done baking in the oven.
It's good to see that nothing has changed in 2013. (insert rolling eyes here)
It may be a little while before I can get a printable version available, but since I only do this once a year, I have to relearn how to do all that & I've only done one anyway. I'm slow like that.
Enjoy!
 I'm Linking to these parties:


6 comments:
These look great, I think my family will really like them, thanks for sharing!
These look so yummy! what a terrific idea!
hugs x
Crystelle
So Jeff Smith aka Frugal Gourmet was my hero for many years. I still use his method for cooking a whole chicken. Best chicken ever. Ok I must confess, I'm one of those people who LIKE using a bunch of different ingredients, and even chopping them myself - so I probably won't make this recipe, but you certainly have me craving chicken enchiladas! I see some in my immediate future!
I may have to try this..its fast and simple...my type of cooking ;)
But I would have to take the ucky chicken out....cause I'm picky like that ;)
The chef you speak of was the Frugal Gourmet...I Loved That Guy :)
These looks so yummy! Thank you so much for sharing, because this is my favorite kind of recipes. Thank you so much for sharing at A Bouquet of Talent last week. So sorry just now making my rounds. It's been one of those weeks. :)
Hope you are having a great weekend.
Kathy
Post a Comment