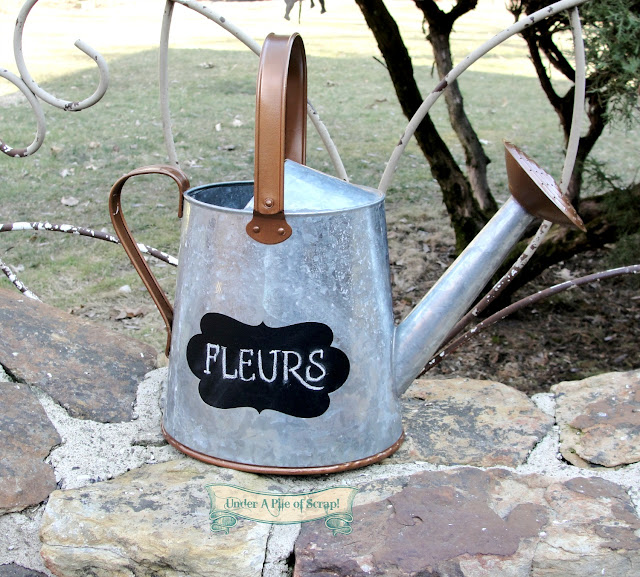
About a year ago, I shared a simple make over with this watering can
I managed to get the decal off using an acetone based nail polish remover. The remover was old so I don't even think they make nail polish remover with acetone anymore (in the US anyway) but you can buy straight acetone in a can in any paint dept. and you should wear gloves as it's extremely drying to your hands (and very cold too).
After cutting out a label made from chalkboard vinyl on my Cricut, this is what it looked like then.
I tried to use a stencil made from contact paper to write the word Fleurs, but I clearly cannot line anything up straight. Thank goodness it's written in chalk so it can be redone (just not any better).
And I was quite happy with that little label improvement, but I want to try to sell this, and the nasty looking faux brass accents that had some wear, just wasn't the look I want to offer a customer. I don't mind if the galvanizing looks worn, but not the really shiny fake brass stuff.

If you look closely at the finished version, I even added some extra accents that weren't in brass before. I did the bottom banding seal of the can. I thought it just made it look more complete with it. I also painted the underside of the watering head instead of just the front. And finally, I taped around the little handle brackets that attach it to the can and spruced those up too.
I had smeared the previous chalk word pretty bad, so I tried to freehand over what image was left. I'll try to make it look nicer at sale time.
And in case you're wondering what I used to paint it with. It was Krylon Fusion Hammered Copper spray paint, but I used a brown spray paint primer on the bare metal first and then went over it with the hammered copper paint. You want to be careful with the Hammered paint because it has a bit of a shimmer to it, making runs look even worse, but if you just use short even sprays and don't get too close, it looks amazing when you're done.
So here is a Before and After shot of my little watering can.
 |
| Click on image to enlarge |
This was not a sponsored post, I just used what I had on hand for the spray paint.

Parties I'm linking to:


3 comments:
That's so cute! Love how you transformed it.
Liz
This turned out beautifully Beth.
As all your projects do :)
A fantastic up-cycle.
Traci
Post a Comment